
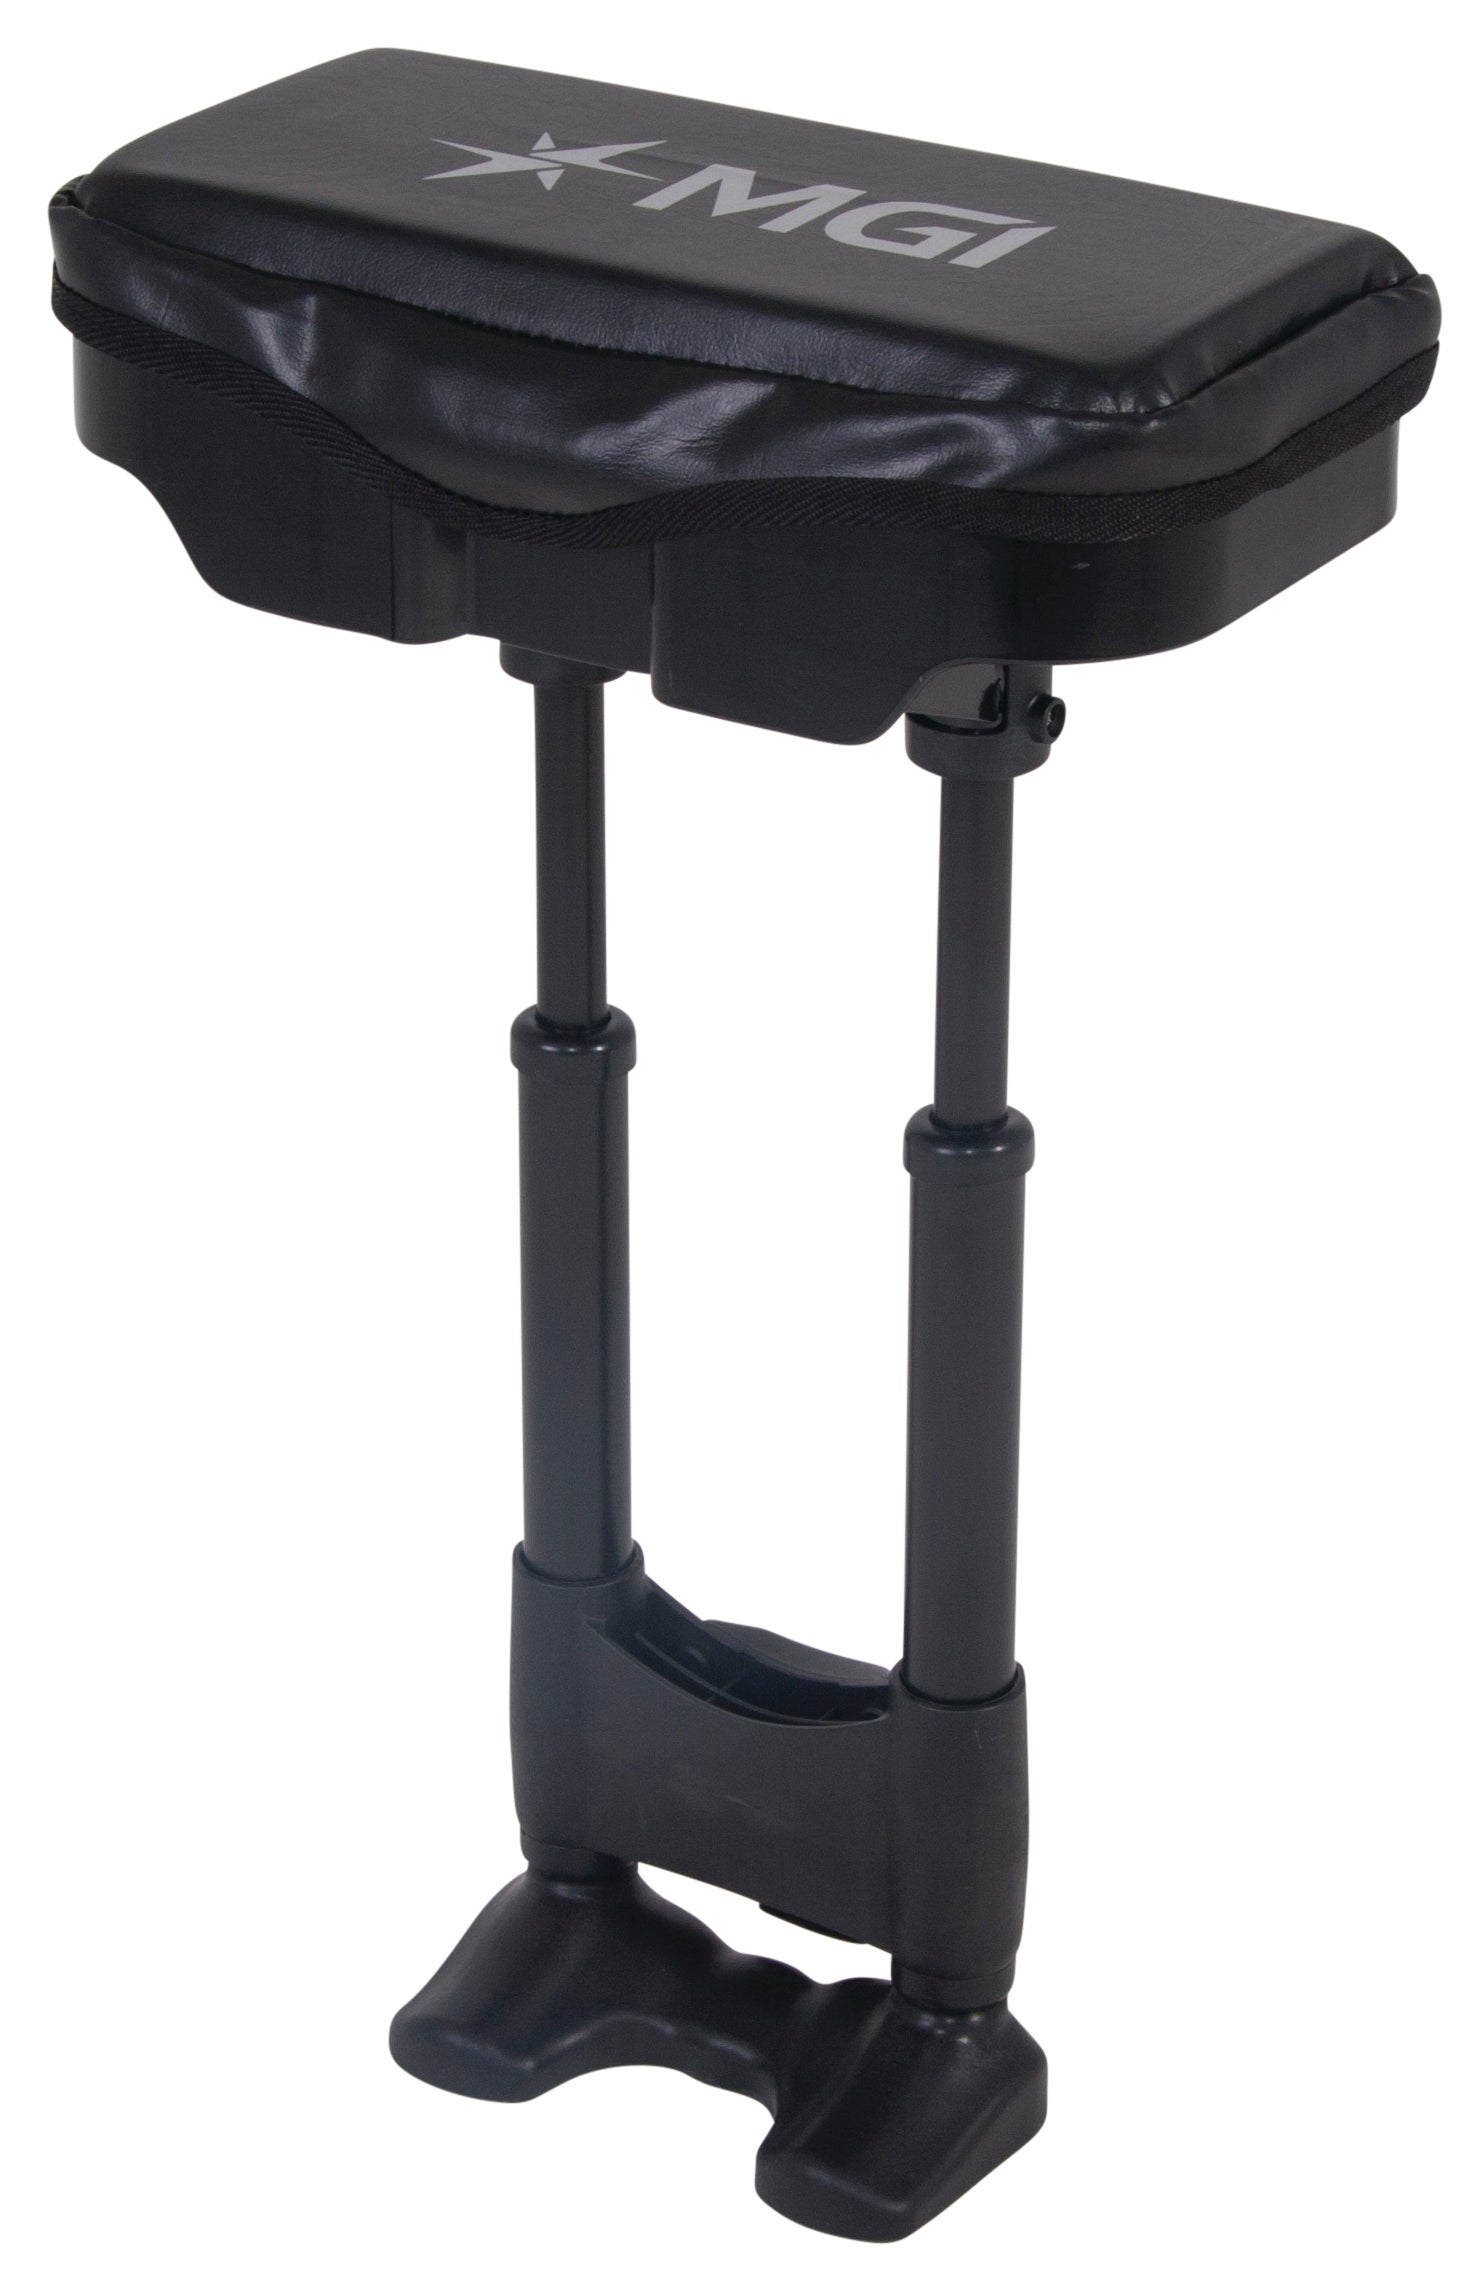
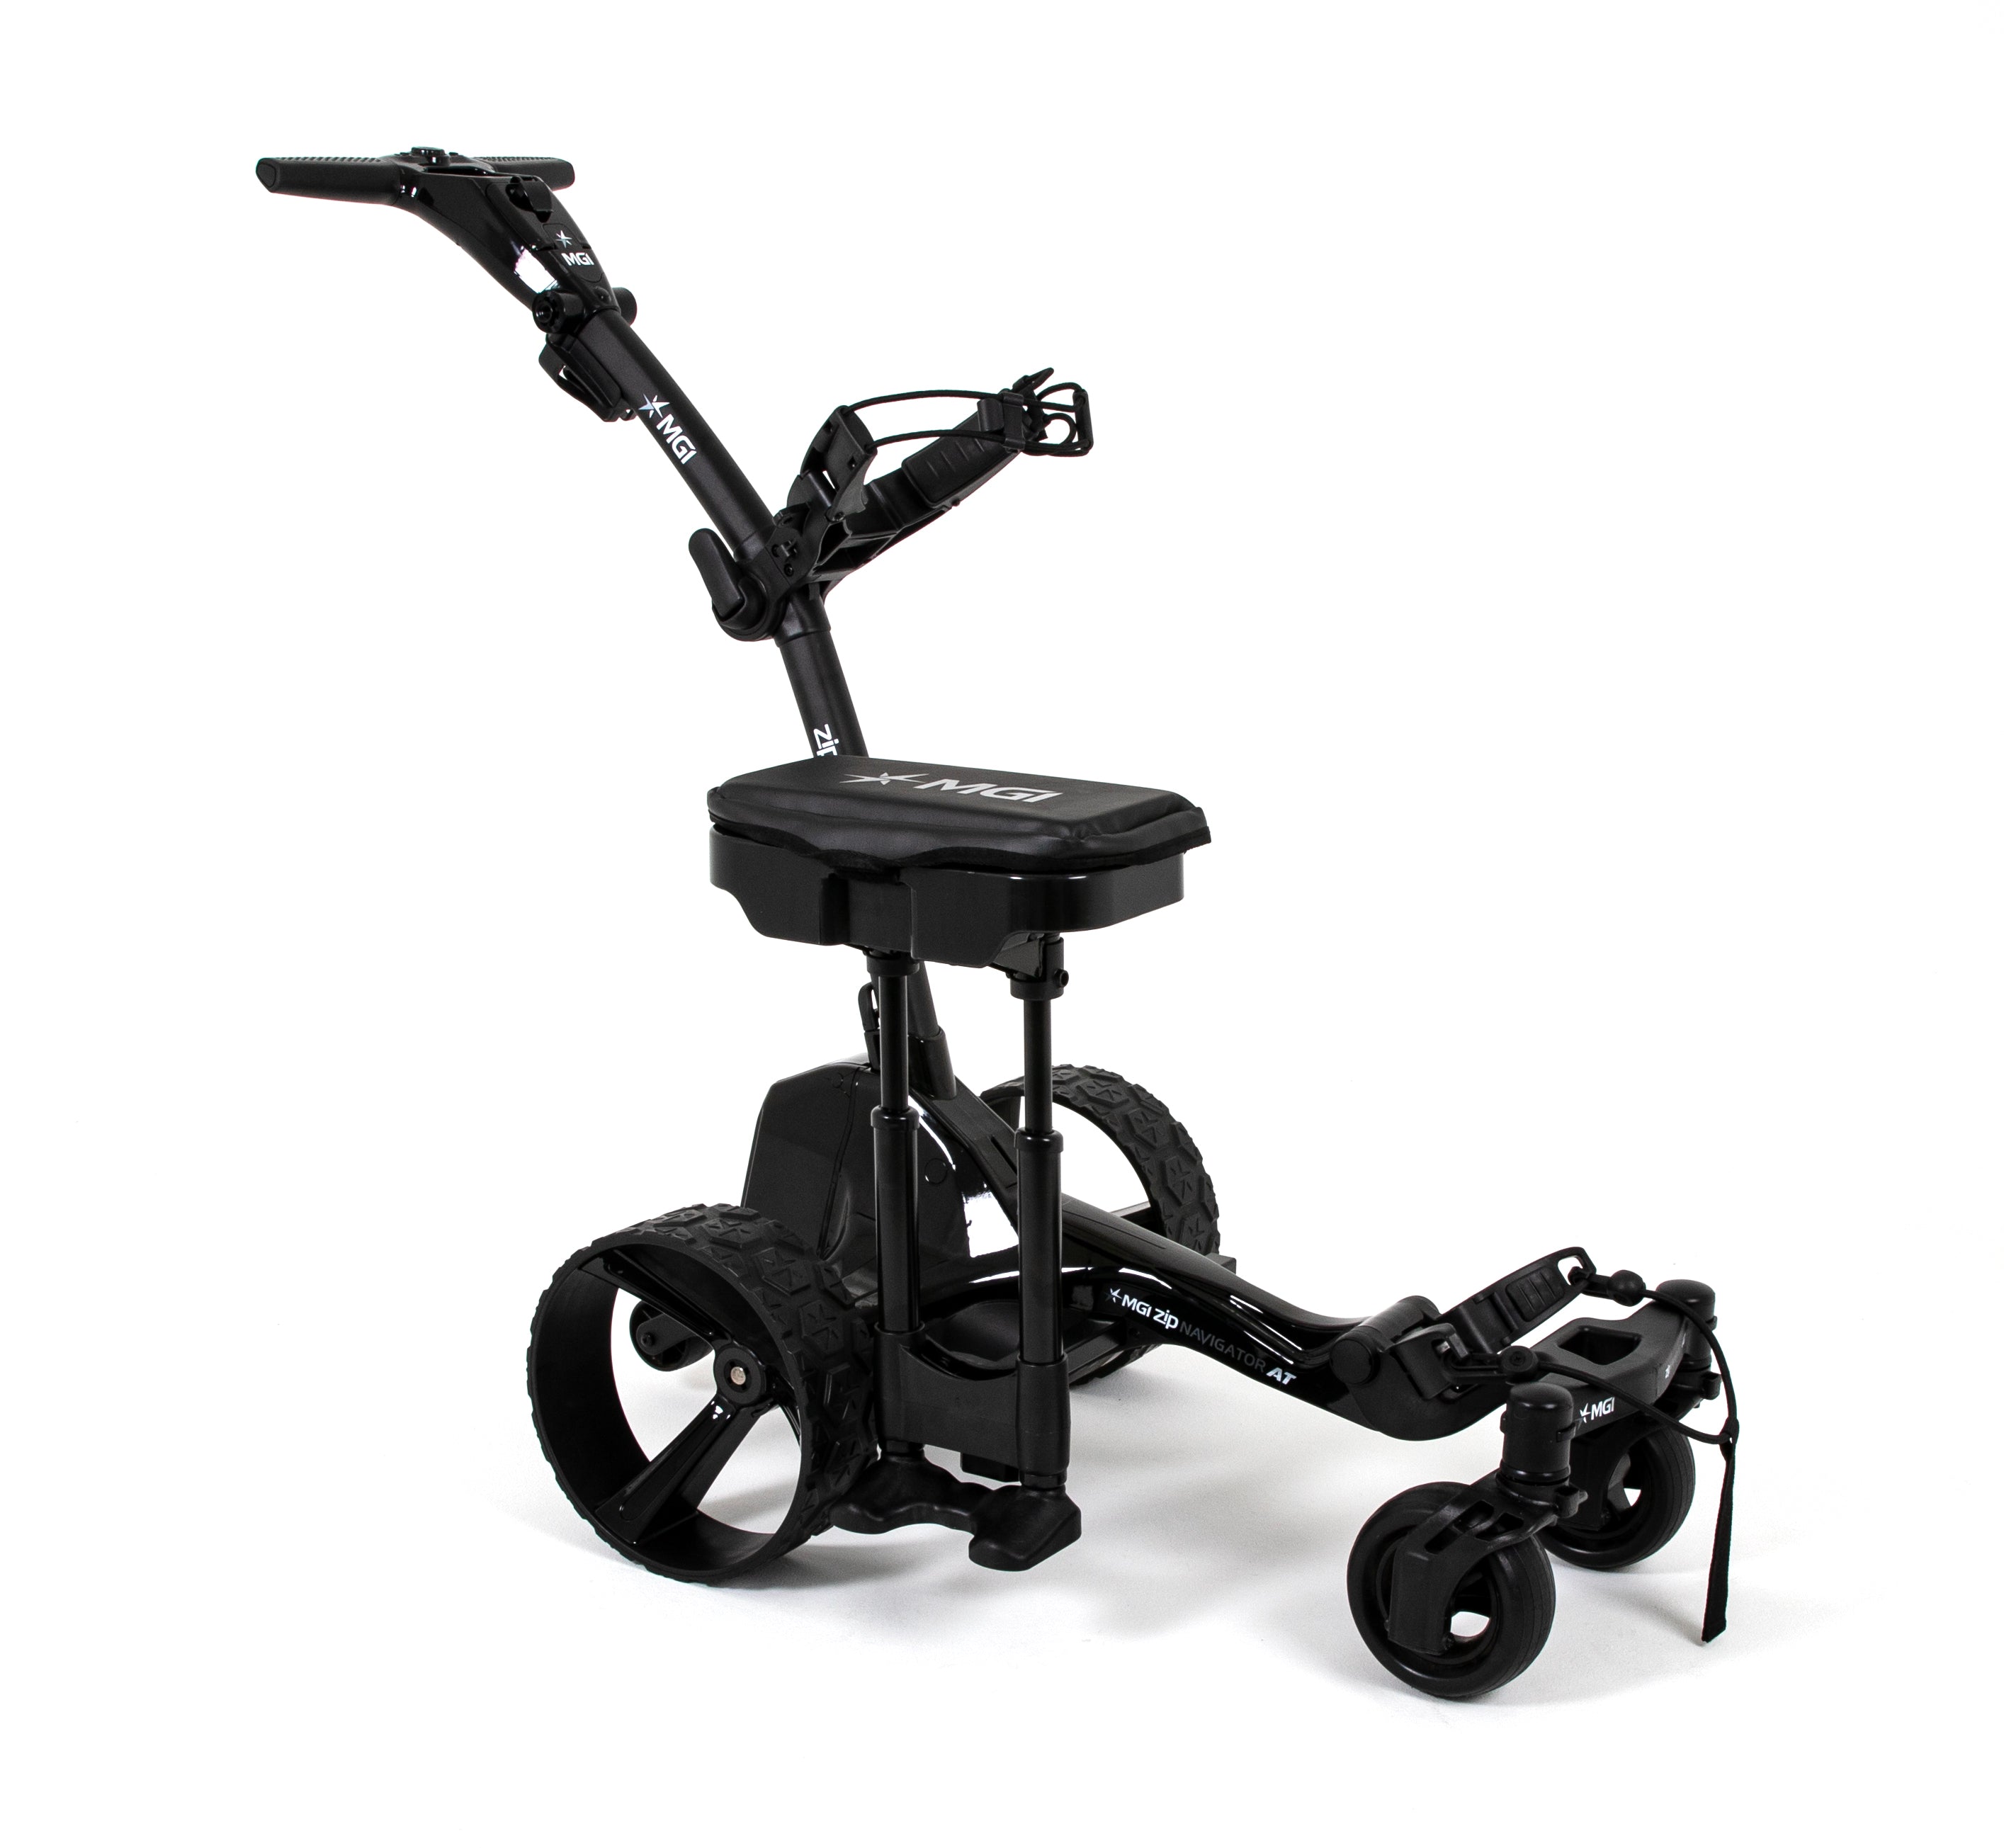
Seat
The versatile padded Seat is designed for comfort and practicality. Featuring a lined storage compartment for easy access to your golfing essentials, the Seat is sure to add comfort and convenience to your time on the course.
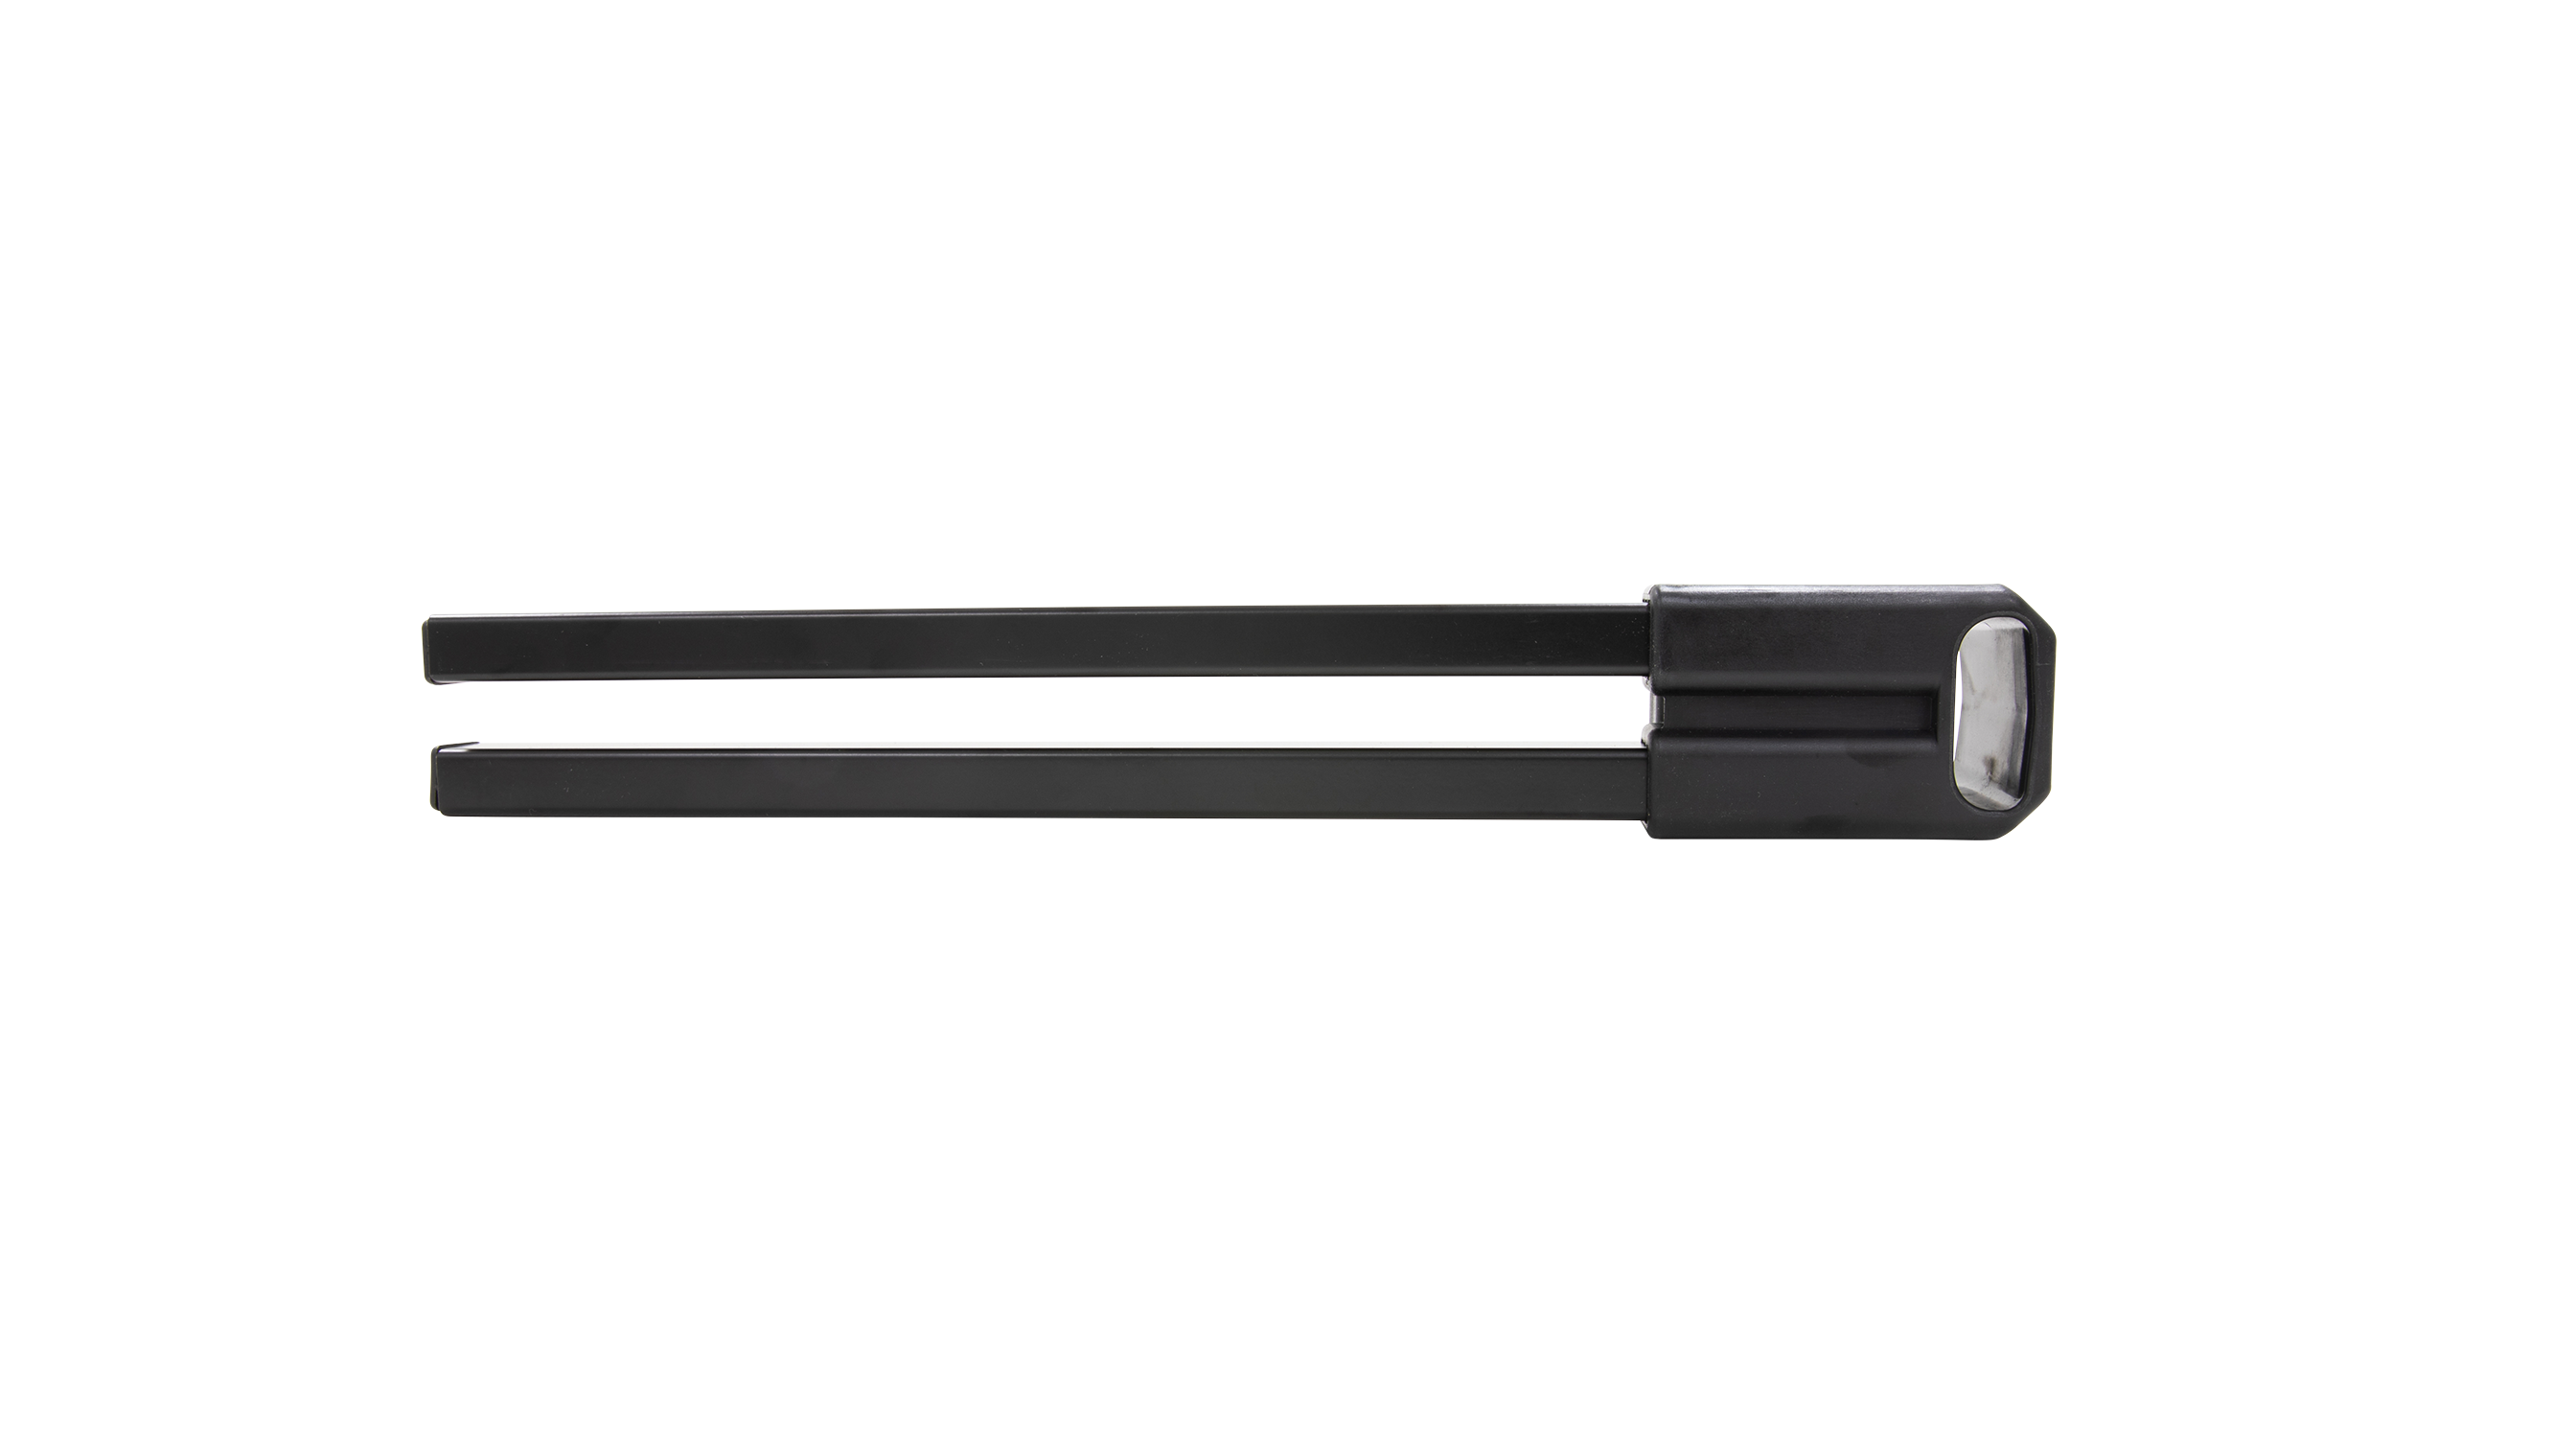
The Seat includes a bracket to conveniently attach the seat to your base frame.
Please ensure you choose the correct Seat for your respective caddy.
- To locate the store nearest to you, click here
- To find our international distributors of MGI, click here
Seat
Sale price$159.00
SET UP INSTRUCTIONS
Ai Series:
- Remove the 3 seat parts from the packaging
- Open the seat compartment and remove the 2 bolts and nuts found inside
- Insert the legs into the slots underneath the seat compartment
- The seat's Velcro tab should be the same side as the feet if the seat assembly
- Insert the bolt from the outside of the leg and tighten the nut on the inside of the lef using a Philips Head Screwdriver
- Repeat for both sides
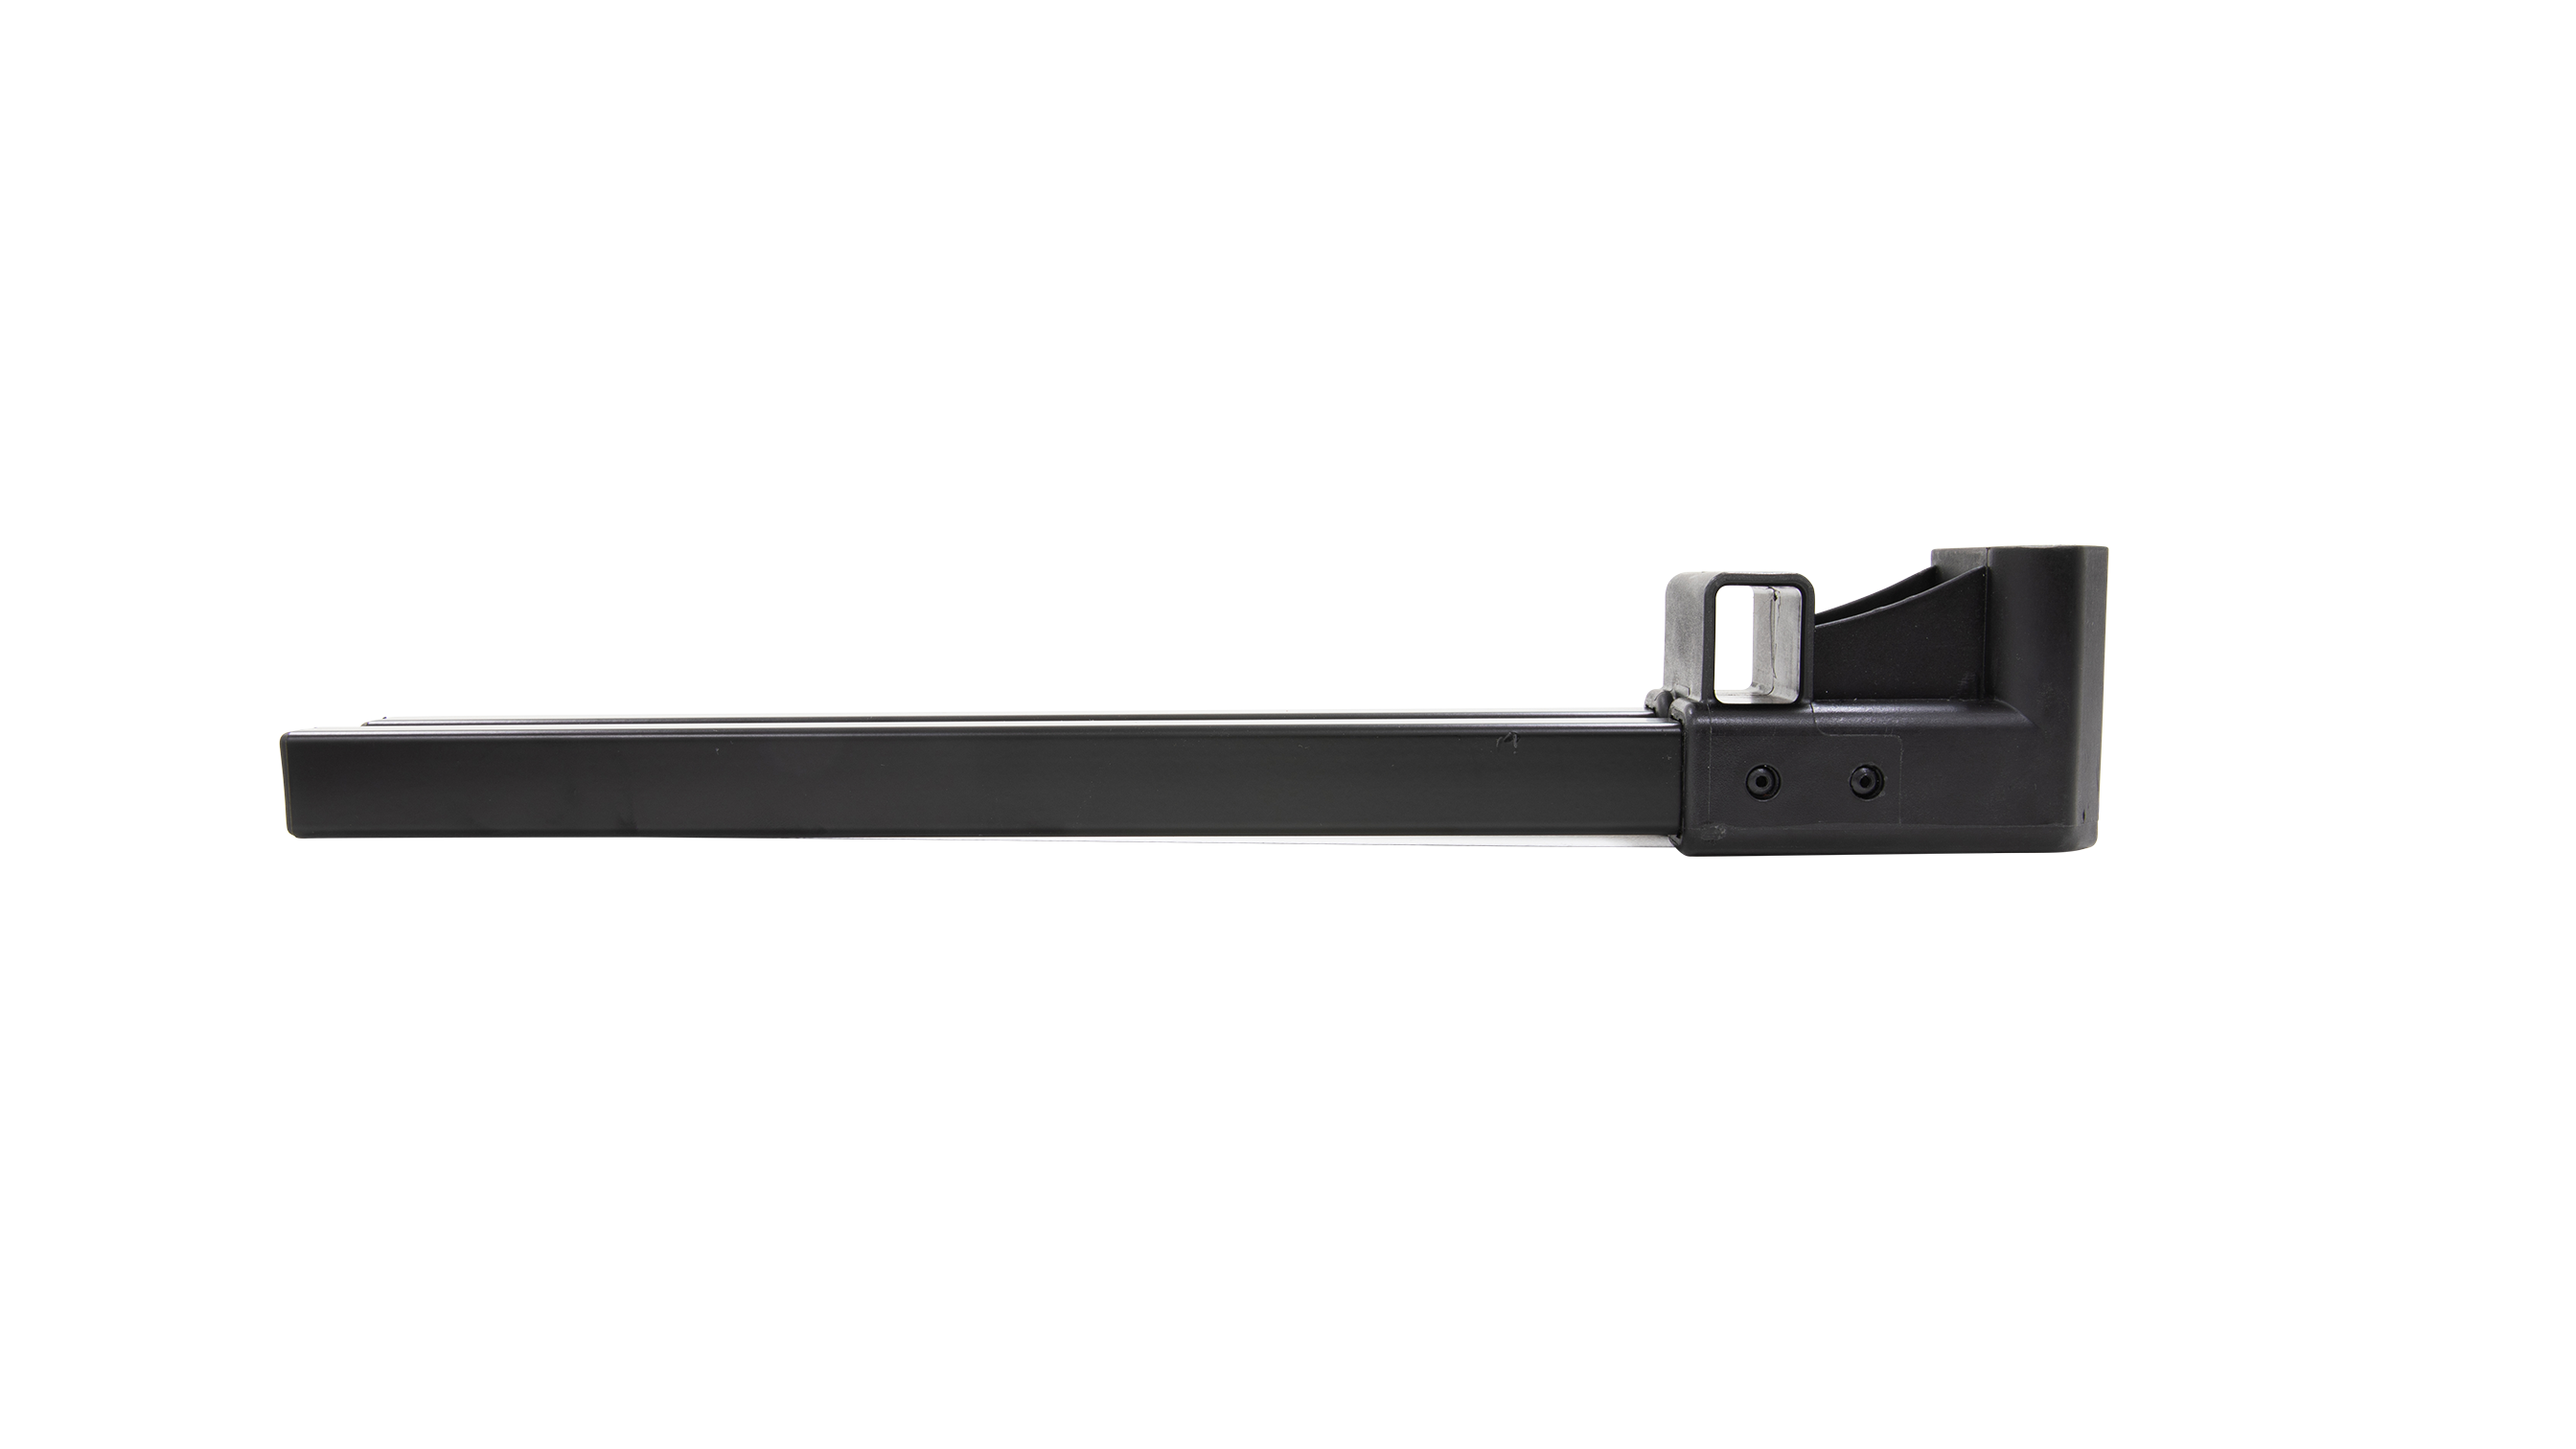
- Undo the plastic screw on the trolley's undercarriage
- Insert the bracket into the RIGHT HAND SIDE ONLY of the buggy
- The bracket should protrude from both sides of the trolley evenly
- The bracket sleeve should curve downwards towards the ground (NB: If you have installed the bracket upside down, the seat will not touch the ground when depressed.)
- Tighten the screw on the buggies undercarriage to secure the bracket
- Insert the seats plug, into the seat bracket socket.
- Ensure the seat depresses correctly with your hand before sitting on it
- The seats feet should sit flush on the ground
Ai Mounting Position: RIGHT hand side only
Zip Series:
- Remove the 3 seat parts from the packaging
- Open the seat compartment and remove the 2 bolts and nuts found inside
- Insert the legs into the slots underneath the seat compartment
- The seat's Velcro tab should be the same side as the feet if the seat assembly
- Insert the bolt from the outside of the leg and tighten the nut on the inside of the lef using a Philips Head Screwdriver
- Repeat for both sides
- Release the bracket lever on the undercarriage of the trolley
- Insert the bracket into the RIGHT HAND SIDE ONLY of the buggy
- The bracket should protrude from both sides of the trolley evenly
- The bracket sleeve should curve downwards towards the ground (NB: If you have installed the bracket upside down, the seat will not touch the ground when depressed.)
- Re-engage the bracket lever under the trolley to secure seat bracket.
- Insert the seats plug, into the seat bracket socket.
- Ensure the seat depresses correctly with your hand before sitting on it
- The seats feet should sit flush on the ground
Please note the recommended weight limit is 100kgs.